Raspberry Pi 7 inch touchscreen display hacking
Update 2016-07-16: Added video
Table of contents
- Table of contents
- Introduction
- First look at the hardware
- Using it as a regular touchscreen
- Getting access to the I2C bus connected to the touch screen.
- My Hackish way of getting access to the I2C bus connected to the touch screen.
- Configuration changes
- Using the touch display (as a touch display) from userspace
- Reading raw capacitance values from the touch panel from userspace
- Additional resources
Introduction
WARNING: The hardware for the raspberry pi touch screens have been updated sometime during 2017, and they are no longer using the FT5406 chip. This means that a newly bought screen won’t work with this codebase.
It’s amazing that regular persons can buy capacitive touch panels in single quantities nowadays.
I’ve been interested in getting hold of one for years, ever since I heard that many capacitive touch screen controllers allow you to read out the raw capacitance values in each and every grid point of the screen.
A couple of fingertips placed like this:
would generate this capacitance image:

The bad thing is that that functionality usually isn’t exposed, and generally would require you to sign an NDA (Non Disclosure Agreement), which means that whatever you do with it can’t be open sourced, and that you probably can’t expose the raw sensor values either.
I gambled and bought the official 7 inch touchscreen display for the Raspberry Pi the other day just to see if it could capture capacitance images. After a bit of digging and experimentation, everything just magically worked!
First look at the hardware
The touch controller chip for the display is the FT5406
Using it as a regular touchscreen
It worked flawlessly when hooked up to my Raspberry Pi 3 the intended way. Quite useful for most people, but not what I was looking for.
Getting access to the I2C bus connected to the touch screen.
Talking to the touch display when it’s connected to a Raspberry Pi 3 turned out to be much harder than anticipated.
I had assumed that it would be directly connected to the Broadcom SoC, and that that I2C bus would be directly accessible by the ARM CPU.
It turns out that on Pi2 rev 1.0 and Pi3 there is no 100% safe way of accessing i2c-0 (which the touch controller is connected to). The GPU uses it to talk to a GPIO expander as well as a power supply, and there is no option for disabling those as that functionality is not optional. So even if we would change the pin muxing to allow the ARM core to talk to the touch controller, things would go really bad when the GPU wants to talk to the power supply or the GPIO expander.
The proper way to connect to it (for a regular user) would hence be to break the tracks on the PCB going to the touch controller, and connect the touch controller to another I2C port (such as i2c-1) which is available on the Raspberry Pi GPIO header.
The proper way to connect to it (with the help of the Raspberry Pi team) would require modifications to the code running in the GPU (which isn’t available to us regular users), as well as writing an additional kernel driver. The modification needed would be the addition of a virtual I2C interface, exposing it to the ARM/Linux side of the system.
A slightly simpler aproach (for the Raspberry Pi team) would be to add a way to switch the Raspberry Pi kernel touch driver between different modes, and expose the raw capacitance values from the kernel driver. One could look at the debugfs entries for the other touch driver using the same touch controller for inspiration. It would still require additions to the GPU code though, and I would highly prefer the virtual I2C driver solution proposed by others instead.
Anyway, I expect that nothing will be done here. The market for communicating with the touch screen in non-standard ways is probably far smaller than the maintenance burden the Pi project would have until the end of time if they added the changes I would apreciate.
My Hackish way of getting access to the I2C bus connected to the touch screen.
My way of connecting to the display was slightly different (and way more hackish), and should never ever be done in a real product without much more research than I did.
I decided to turn off as many sources of I2C transactions as possible on the I2C busses, and then simply used the provided jumper cables to connect the touch screen to the i2c-1 bus at the same time as it was connected to the i2c-0 bus by the flat cable.
If both the GPU and the ARM peripheral would support multi master I2C, and have compatible IO voltage levels, this would be completely safe to do.
I would not recommend this however, as I would assume that the GPU might not support multi-master. I didn’t even bother to look that up. Similar SoC’s have reference manuals that are several thousand pages long, and even if the Broadcom one was available, it would take me too long to dig down in those manuals.
Configuration changes
The following changes was done to the /boot/config.txt file to limit the amount of I2C transactions as much as possible on as many busses as possible.
disable_touchscreen=1

# The one below might not be needed.
# (We only need to limit traffic on the i2c-0 and i2c-1 busses)
force_eeprom_read=0
I also turned on I2C using the raspberry pi config tool. That tool adds both the needed entry to /boot/config.txt as well as ensures that the kernel driver will be loaded.
Using the touch display (as a touch display) from userspace
Now that the touch screen is disabled, and we have added jumper wires so the ARM CPU have access to it, it would be nice to make it possible to use the touch screen as a touch screen again.
I prototyped the userspace driver as a bash script, and got really amazed by how simple it was to get it working. I used the commands provided by i2c-tools to do all the talking to the display over the I2C bus.
I also found xdotool which I used for forwarding mouse down, mouse moves, and mouse up events to the X server.
The full script querying for touch events and forwarding them to the X server can be found at https://github.com/optisimon/ft5406-capacitive-touch (the file is called userspace_touch_driver.sh).
Reading raw capacitance values from the touch panel from userspace
This turned out to be a bit harder, but it actually worked anyway.
Update: The last revision (seen in the video at the top of the post) can be found at https://github.com/optisimon/ft5406-capacitive-touch/tree/master/CapacitanceVisualizer.
The first version of the code was actually prototyped using bash and i2c-tools.
The main problem was the complete lack of documentation, combined with the fact that there are different firmwares for the same touch screen controller, so no source of documentation I found could really be trusted.
I’ve glanced a bit at some kernel driver for the same range of touch controllers. But that driver was using additional parity bits while talking to the controller. The official Raspberry pi driver never does that.
I also found some documentation for another display with the same controller. It shared most registers but not all with the raspberry pi touch display. But the information there was enough to retrieve capacitance images.
The full script reading raw capacitance values can be found at https://github.com/optisimon/ft5406-capacitive-touch (the file is called dump_raw_data.sh).
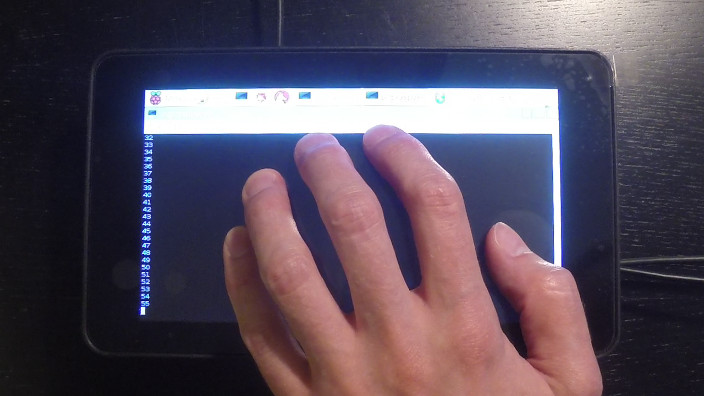
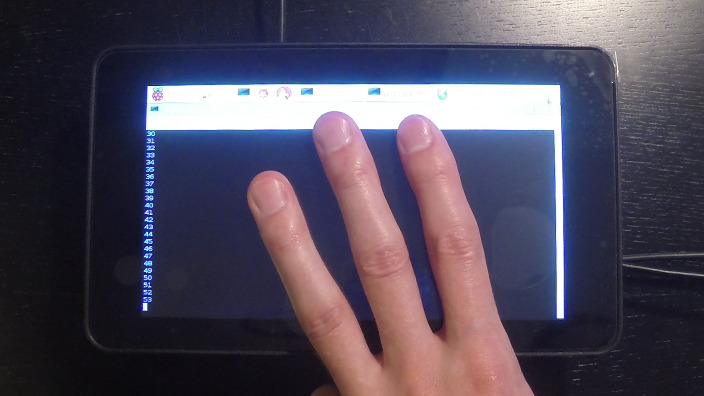
The image below shows what raw capacitance values would look like:

when the real world situation for the measurement looked like this (pressing fingers flat against the screen):
I made an octave script converting raw data dumps into images that may be useful for someone. That script is also in the https://github.com/optisimon/ft5406-capacitive-touch repository (and the file is named analyze_raw_data.m)
Additional resources
SparkFuns Raspberry Pi SPI and I2C Tutorial is a nice place to find out how to enable I2C for the Raspberry Pi.
Forum discussion of Capacitive touch problems under linux (FT5x06)
Link to touch controller registers in that forum post (WARNING they are not identical to the registers in the raspberry pi (for instance going into the system information device mode locks up the touch controller until the raspberry pi is rebooted.
Link to some kernel driver for an FT5x06 chip based touch screen. (WARNING they are doing several things very different from the raspberry pi. (They seem to have a firmware in their touch screen which require parity bytes to be used, and certain registers don’t match the registers in the Newhaven Display appnote)